About Jserv-sample
Jserv-sample is the semantic-* sample project, including ports:
- menu (menu.serv)
- ...
Jserv-sample Quick Start (Eclipse and Tomcat)
1. Clone and Import Eclipse Project
1. Clone and Import Eclipse Project
You can clone and import the project from here: semantic-jserv repository.
The repository contains 2 Eclipse project, the semantic-jserv server library and the sample web application's sample project, jserv-sample, showing how to use the library.
Just import the sample project located in folder "jserv-sample".
2. Check JDBC Connections
Jserv-sample using a sqlite3 db file as the default datasource for test. The providen project has some ready to run configurations.
For the first time biginner, it's nothing to do here. More datasource configuration based on JDBC (both connection pool and driver manager mode) can be found in semantic-DA documents.
It's recommended have a look at the JDBC connection file, located in
3.Update Maven Dependencies
Right click the imported project, then "Maven -> Update Project...".
Wait for the project refreshed. Now the project should be ready to be deployed.
4. Deploy the Web Application
In this step, you need to check the url path, which will be used to configure the client. The tomcat server.xml in Eclipse's server configuration section my look like this:
        <Server>
          <Service>
            <Engine>
              ...
              <Context docBase="jserv-sample" path="/jsample" reloadable="true" source="org.eclipse.jst.jee.server:jserv-sample"/></Host>
            </Engine>
          </Service>
        </Server>
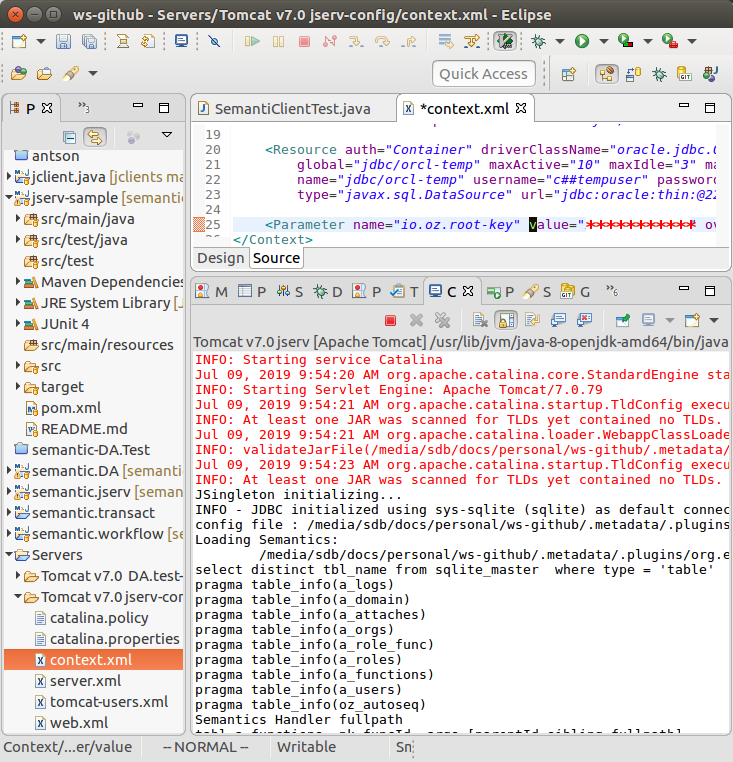
        JSingleton initializing...
        INFO - JDBC initialized using inet (mysql) as default connection.
        config file : .../.metadata/.plugins/org.eclipse.wst.server.core/tmp1/wtpwebapps/jserv-sample/WEB-INF/config.xml
        Loading Semantics:
        	.../.metadata/.plugins/org.eclipse.wst.server.core/tmp1/wtpwebapps/jserv-sample/WEB-INF/semantics.xml
        show tables
        show columns from a_attaches
        show columns from ...
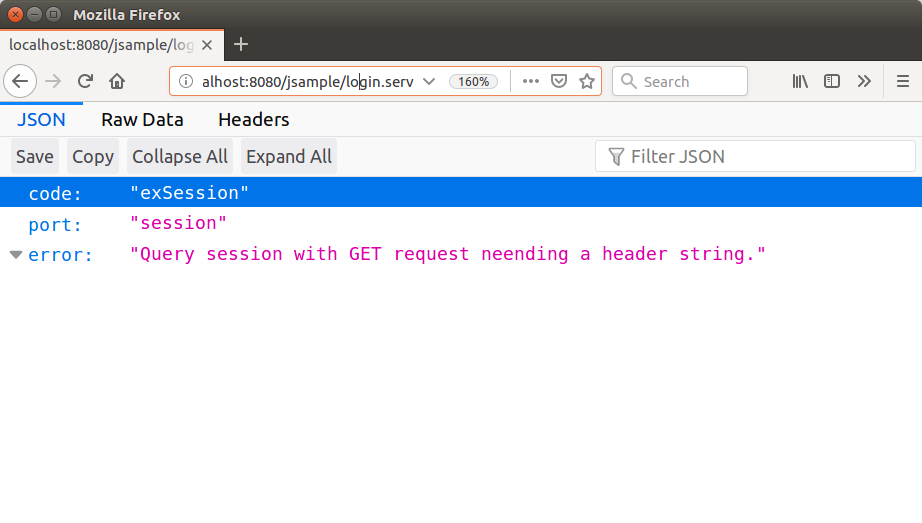
Tip: You may find some error message like
Now, using a browser visiting

The message is complaining that the client didn't providing any login credential, but it's showing the server is working now.
5. Next: Try a Js Client
The server is a basically json data service, with session management, nothing is interesting until now. You may using one of the testing client to experience some client functions.
There are serveral versions of anclient available. The js client is recommended for quick starting. You can follow the anclient/js quick start.
6. Optional: Configure an Oracle Connection for Testing Java Client
If you'd like to try the java version of anclient, you better configure a JDBC Pooled Connection to a Oracle database. Otherwise the test will partialy failed. But the login, file uploading test will success. It's using the sqlite3 DB come with the jserv.sample project.
Please follow the Oracle official docs to configure an Oracle Pooled JDBC Connection.
The following is an example that works on tomcat 7 and 9.
eclipse-server-config/context.xml:
        <?xml version="1.0" encoding="UTF-8"?>
        <Context reloadable="true">
            <Resource auth="Container" driverClassName="oracle.jdbc.OracleDriver"
                global="jdbc/orcl-temp" maxActive="10" maxIdle="3" maxWait="10000"
                name="jdbc/orcl-temp" username="user-name" password="password"
                type="javax.sql.DataSource" url="jdbc:oracle:thin:@###.###.###.###:1521:orcl" />
            <Parameter name="io.oz.root-key" value="*************" override="false"/>
        </Context>
The parameter "io.oz.root-key" is used to encrypt decrypt user's password. Any change of this password will make the user login failed.
To reset the user's password, just set the pswd field with plain text, then set the IV field as null.